
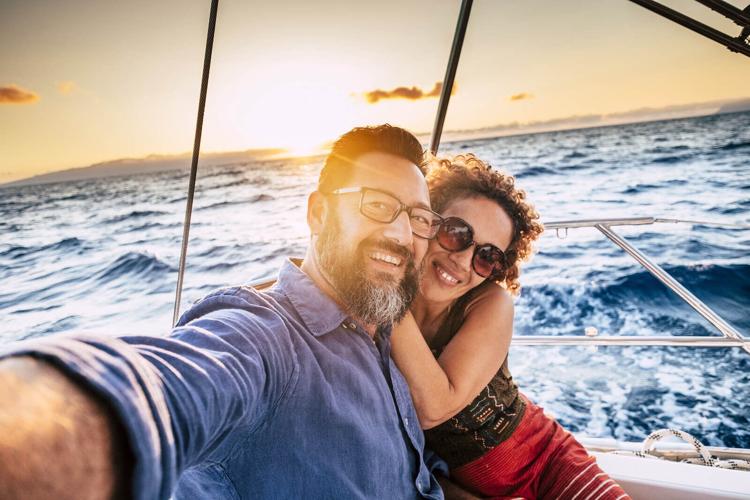




A day on Lake of the Ozarks is worth photographing. But whether your photos are worth looking at is a whole different story! Here are five “hacks” for snapping excellent boating photos with your smartphone.
1. Use light and mood to set the scene.
The most important element of any photo is the quality of light falling on the subject. Time of day and atmospheric conditions play a big part. Think of light as the personality of the photo. Smartphone cameras give best results in daylight.
Sunrise and sunset, called the "golden hour," will produce warm golden tones that give the viewer a warm feeling. Shortly before sunrise and after the sun sets are called the "blue hour," giving you cool blue tones and less contrast that may better suit your subject. Fog brings soft light and mystery.


If the day is sunny and you photograph midday, the colors will be more natural but the lighting harsher. Full sun can work well for seascapes because of the high-contrast lighting and definition it provides. With some exceptions, this time of day is usually not flattering for portraits as you can get harsh shadows. That said, more advanced photographers might utilize this shadowing to create additional form and depth in the photograph. (See below for more tips on photographing in challenging conditions boaters often face.)
2. Think before you take the photo.
After light quality, consider composition. A few basics will generally cover most situations. Is there too much in the picture? Can you improve the composition? Does it tell a story?
Our eyes unconsciously scan a photograph from left to right and top to bottom, just as we read a page in a book. Viewers tend to feel more comfortable seeing objects or people in particular areas in a photo. These are called points of impact, and there are four of them.
Visualize a tic-tac-toe grid of overlapping horizontal and vertical lines that divide the screen into nine even sections. (Most Apple and some Android phones give you the option to show this grid overlay on your screen. To turn it on in your iPhone Camera app, go to Settings>Camera>Grid and tap/swipe. On Samsung phones, open the camera app>Settings>Grid lines.) These points of impact are generally places that "feel" natural for important things to be. (below for an example.) But like many photography "rules," it's a good general guideline but not absolute.
One of the biggest mistakes we make, and our natural tendency, is to place the subject in the center of the photo. In general, an image tends to have greater impact if the subject isn't centered. An exception might be a closeup that fills the screen.
For seascapes that show the horizon, avoid placing the horizon halfway between the top and bottom of the frame, or dead center. Here you now have an interesting choice: If the sky is more dramatic than the water, put the horizon near the bottom third of the frame to show more sky. Placing the horizon near the top third might be the better choice if the water has more visual impact, such as family fun or interesting features. For seascapes and boats on the water, keep the horizon line straight so it doesn't dip to one side of the frame. But again, there are artistic exceptions to this.

There are three things that draw the viewer's eye: large, bright objects; faces; and printed words, such as signs. If one of these is your subject, no problem. But if not, it will distract. If the distraction can't be removed, try changing the angle or moving your subject. Or, if you can do so safely, don't be shy to get closer. Pay particular attention to the edges of the screen for unwanted things that can creep in (a person's arm or that soda can on the counter) and draw your eye away from the subject. You can sometimes crop them out later (see tip No. 4), but it's less work to avoid them in your composition.
Finally, instead of always shooting at your eye level, try shooting from lower or higher angles to create more interesting photos.
3. Take control of your camera.
Most amateur smartphone photographers don't know this, but your built-in smartphone camera app allows you to take more control of the camera settings and not leave everything to the camera. By using the touchscreen capabilities, select focus and exposure simply by touching parts of the image on the screen.
For land- and seascapes and subjects in the distance, compose your subject in the screen, tap the shutter button, and view the photo. Because the subject is distant, focus won't change by touching the screen. But you may be able to adjust the exposure. Touch a lighter area and your image will darken. In a scene with a bright sky and beautiful clouds, you might touch the sky area to keep detail in the clouds. This will also darken the land areas. If the sky is only a small part of the scene, try touching the darker land (or sea) and see what happens. Sometimes the change is dramatic, other times subtle. Shoot both ways and compare. It's a fun way to learn.
For subjects closer to the camera, selecting focus is a creative way to make your subject stand out from the background. And even better, it's already built into your phone's camera app. Simply touch the screen where you want the camera to focus and, if close enough, your background should blur out. If shooting portraits of people or animals, the eyes are an ideal place to focus.
Want even more advanced control over focus and exposure similar to settings found in a digital single-lens reflex camera? There's an app for that, too. For Android a good choice is Camera Zoom FX; for iPhone I like Halide. But apps are constantly changing and improving, and new ones are being added all the time. Try a few to see which works best for your needs.
Many of these apps also give you extras like filters, overlays, RAW (an image format that contains minimally processed data allowing for more precise adjustments), and post processing. Controls vary by app but are generally simple to use, and changes you make are viewed in real time on your screen. Play with the controls, take several photos of the same scene, and compare the changes.

4. Process your images.
For most smartphone photos, point/shoot/share works fine. To create a better photograph, such as something to print and hang on the wall or put in a photo book, a certain amount of processing will improve your image. If you use Instagram, there are filters you can apply with a single touch, or click on edit and select contrast, exposure, saturation, and a few other things and adjust manually with sliders.
Of course there are apps for this, too; I like Snapseed — perfect for both amateurs and professionals and free. Snapseed was built for mobile use, so controls are intuitive. Swipe left or right to add or subtract contrast, saturation, detail, exposure, and more. You can straighten horizons, crop, add a vignette, and remove small defects or some unwanted objects. There are also one-touch filters much like Instagram — a good way to explore what you can do with your photo if you're not sure how to start.
Here's how I'd process a scenic photo: I'd choose "look" first to check out the filters offered. If one will do the job, my work is done. If I want full control, I'd choose "tools" and start with "tune image." Here I can choose from several functions including contrast, brightness, and more — all basic adjustments. I find most photos can use a little higher contrast or some lightening or darkening. I may also want to fine tune the shadows and highlights or increase color saturation.

Next, I usually choose "detail." Here you find the structure slider. This will make the photo look sharper, but use sparingly or the picture will start to get pixelated. In the end, I might apply a light vignette to darken the edges of the frame, which subtly helps put the viewer's attention on the subject. One caution: With so many filters and sliders, it's easy to get carried away. All adjustments should be applied just enough to improve the look without making the photo look fake or overdone, unless that's the look you're going for.
After you've finished all your processing, hit "export" and save a copy. This leaves your original image intact so you can go back and reprocess if you change your mind, want to try a different look, and/or your processing skills improve.
5. Experiment, have fun, print them out.
Unlike with film cameras, smartphone photography costs nothing beyond the cost of the phone and apps. Photos should include all aspects of boating — cooking, onboard projects, navigating, and the sights you see along the way. And while they're fun to look at on your phone or share on social media, consider printing and framing your favorites, or creating a memory book of a trip or as a record of a full season of boating to look back on, share, and smile about.

This article was reprinted with permission from BoatU.S. Magazine, the flagship publication of the Boat Owners Association of The United States. For the online editions, membership, insurance, and towing information, visit www.BoatUS.com
Republished from the 2022 issue of Shore Magazine. Read the magazine online or order a copy sent to your door, at ShoreBoatingMag.com.


