
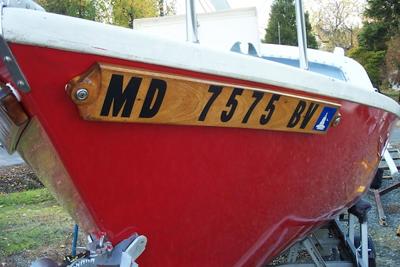
When I first purchased Ternabout, our small sailboat, I was also doing a lot a marine carving, especially half-hull models. One of the first jobs once Ternabout was in my driveway was to scrape off the old hull numbers in preparation for installing the new ones.
I was sure at this time that I would be repainting the hull (I just didn’t realize it would take me twenty plus years.) Looking through some of my marine carving books, I found several illustrations of ship name boards. These were wooden planks with the ship’s name incised on them and often gold-leafed.
I liked the looks and thought it would be a good idea if the registration numbers were on a plank that could be unbolted when repainting the hull. I decided to simplify the construction by applying the standard three-inch high vinyl registration numbers to the flat surface of the plank. After all the state registration sticker was also vinyl.
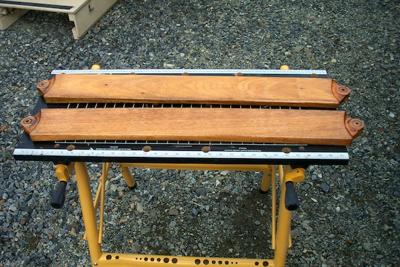
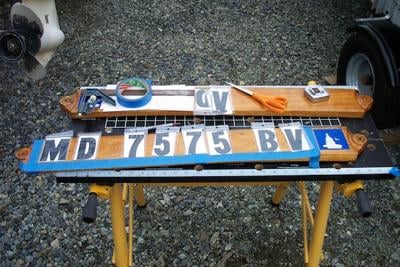
I gathered the required registration numbers and letters as well as the registration sticker and laid them out with the prescribed spacing. This, plus an extra bit at each end for fasteners, gave me the length of plank I needed. When inspecting the hull at the desired location of the number boards, I noticed that there was a fair bit of curvature to the hull. This would complicate the issue, as the backside of the board would have to accommodate the curve of the hull.
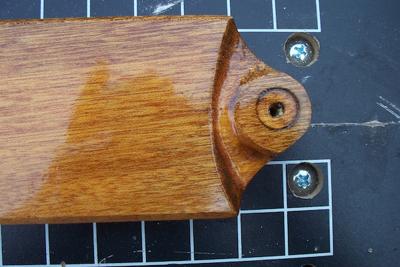
I started out with a length of mahogany about five and a half inches wide by a little over an inch thick. Teak would also work, although harder to work with and finish. I also adopted a very simple end decoration for the mounting fasteners. My carving book illustrated several very fancy name boards with feather end, but I felt these too presumptuous on little Ternabout.
The next job was to scribe the back edge of the board to fit the contour of the hull. I had someone hold the board in place while I scribed the top and bottom of the board with a compass. I have several curved sole planes that I used in half hull modeling that were ideal for hollowing out the back of the board. If you don’t have similar planes, use a sander and sanding disc to do the job.
Once I had the back of the board roughly shaped, I moved out to the boat for the final finish work. I taped several sheets of carbon paper to the hull where the name board location was. Carbon paper is a little hard to come by these days, so graphite pattern transfer paper from a craft shop also works well. I could then place the board in its proper location and move it around slightly. The carbon from the paper would transfer to any high spots on the back. I would then sand those spots down and then place it back on the carbon paper for another trial. It sounds tedious but it was actually fun and went quickly.
I did a little simple carving around the fasteners and beveled the upper and lower edges of the board. Eight coats of varnish and I could then stick on the registration numbers, letters and the state sticker. I placed a length of masking tape along the bottom edge as a guide for the registration info.
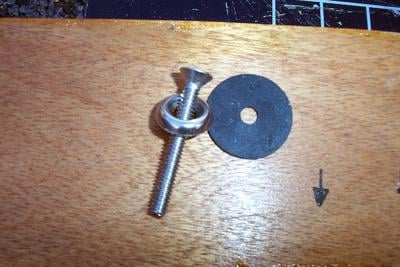
I used 1/4-20 oval head stainless steel machine screws and finishing washers on the outside with fender washers and nylock nuts on the inside. I placed a neoprene washer between the backside of the board and the hull to keep any water from leaking inside the boat.
The number boards have been in use for years. Every five years or so, I take them off the boat, sand them back to bare wood and re-varnish them. After that, they’re good for another five years.


